https://www.bestcpmnetwork.com/wm8r0f4h?key=71e22323cafc6f23c987737c78d66ca2 Dan's Gardening and Birding Blog

Saturday, May 10, 2014

Planting More Early Season Vegetables/Female Cardinal Photos

Welcome back.

Last weekend (May 3rd and 4th), I worked on planting some early season vegetables.  When I refer to them as early season, I am referring to those vegetables that will do well when planted in early to mid May, when the weather can still be cool and wet.

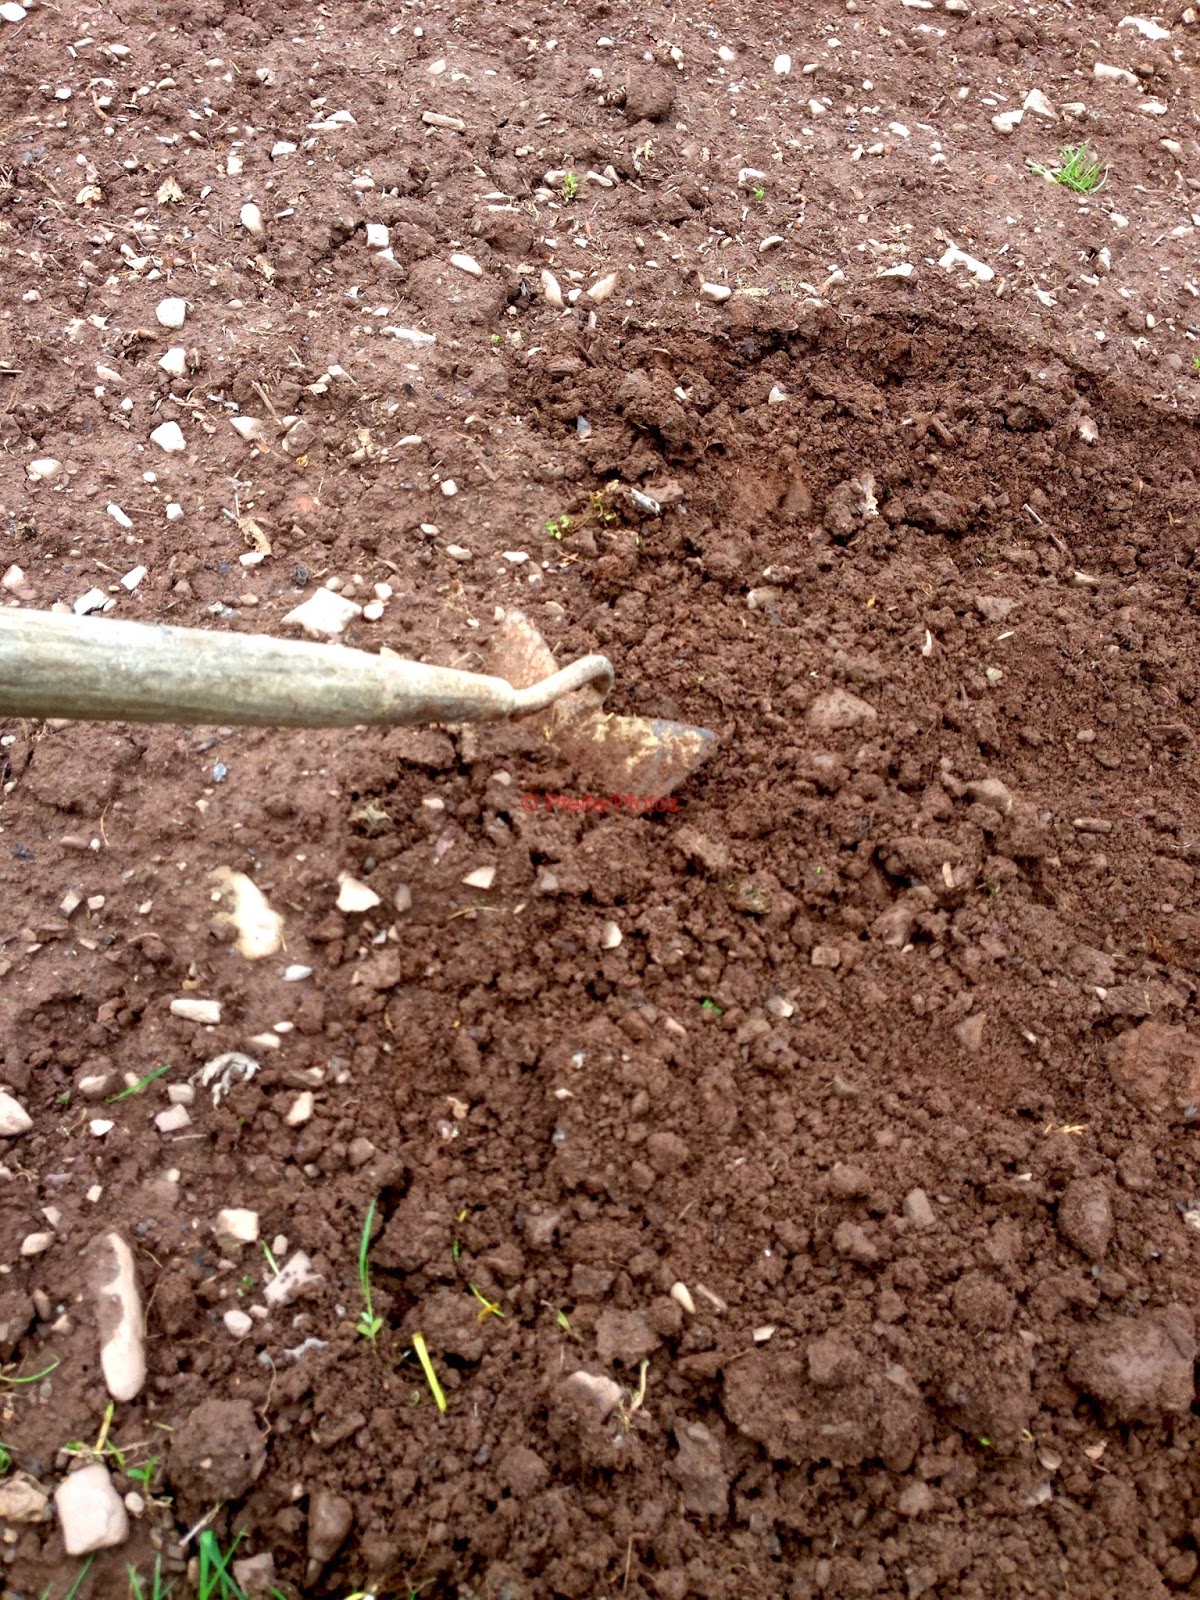
My first step was to re-work the soil before planting.  A couple of weeks had passed since I rototilled, therefore the soil had started to pack down a bit from the rain and sun.


I started with onions.  First, I planted two rows of the yellow Stuttgart variety, which is a good general purpose onion that also stores exceptionally well over the winter, if kept under proper storage conditions. This onion is widely available as sets.  The sets are planted in a shallow trench about an inch deep and covered with soil.


Next, I planted a row of red onions, which make a colorful and tasty addition to any salad.


Next, I transplanted some lettuce (Red Serpent Lettuce) that I started during the winter using the winter sowing technique, which I described in my post on February 4, 2014 (http://dansgardening.blogspot.com/2014/02/winter-sowing.html).  Once the seeds sprouted, I placed the container in my greenhouse on the porch.  The lettuce had grown quite nicely:


I divided the plants into 5 or 6 clusters and planted them:


You are probably noticing some other plants in addition to the lettuce.  These are brussel sprout plants, which I am trying for the first time this year.  During the winter my wife tried a recipe where she sliced them thinly, and sauteed them with balsamic vinegar.  Needless to say they were delicious.

I surrounded the plants with wood shingles to protect them from wind and from any animals that may wander through.  I have found wood shingles to be very useful in the garden.  This I learned from from my Mom and Dad.  They probably used them since years ago it was common for houses to have wood shingle roofs, and when the roofs were replaced with asphalt shingles, they saved the wood shingles.  Of course it was the custom in those days not to be wasteful, therefore most things were saved an reused.

I especially try to protect lettuce and similar seeds when planted, since they are vulnerable to being washed away and/or interfered with by animals.  I also use black fabric to cover the areas planted if heavy rain is forecast.


Next, I planted  wide row of Swiss chard, spinach, radishes, and several more types of lettuce.  I have found that making wide rows or patches about two feet wide and about a half inch deep works well for these types of plants.

I start by carefully raking and leveling the area, removing any large stones that might interfere with the sprouting seeds.  These seeds are very small and fine, therefore I spend a little more time while planting these as opposed to larger seeds such as pumpkins and beans.


Swiss Chard Seeds
Swiss Chard Seeds

The Swiss chard I used is Fordhook, a well known heirloom variety, while the spinach was Riccio Gigante, a curly late variety.  For the radishes, I blended packets of the Sparkler and Easter Egg varieties,  And finally for the lettuce, I planted Summer Glory Blend (loose-leaf) and Salad Bowl Mix (mixed greens) from Park Seed.  I also planted a small patch of romaine lettuce and the red serpent that I had planted using the winter sowing technique.  

Planted Wide Rows

Finally, some nice photos of a female cardinal that my son captured this week:

Female Northern Cardinal

Female Northern Cardinal

In my next post I will show how I transplanted.Spanish yellow onion and Lincoln leek plants that I started from seed

Until next time.

Monday, May 5, 2014

Bird Photos/International Migratory Bird Day

Welcome back.

As the calendar turns to May and the promise of summer draws near, my interest in feeding and watching birds tends to wain a little, as I turn my attention to yard work, gardening, etc.  As the weather improves and the vegetation comes back to life, birds depend less and less on our feeding them.

On the other hand, by not feeding birds this time of the year, you will be missing out on an exciting phenomenon that happens every year:  bird migration.  It is a great opportunity to observe some birds not normally seen in your area during the winter months.

As I write this, bird migration is well underway, as millions of birds travel thousands of miles from their winter habitats to their summer ones.  Along the way they will stop and rest looking for food sources.  Thus the unique opportunity to attract these temporary visitors.

This coming Saturday, May 10th, is International Migratory Bird Day.


Many celebrations and events take place around the globe on this day.  The importance of this day is described below, taken from the U.S. Fish and Wildlife's web site:

International Migratory Bird Day 2014 shares the many ways in which birds matter to the earth, to ecosystems, and of course, to us.  Some bird species provide practical solutions to problems, such as the need for insect and rodent control. Others disperse seeds, helping to re-vegetate disturbed areas. Others are pollinators, ensuring that we are graced with flowering plants, trees, and shrubs. Beyond the utilitarian, birds are inspirations for the arts.


On Saturday, May 3rd, I placed some bird food in my feeder and was pleasantly surprised with the results. I was able to observe at least 2 migratory species, one of which was quite beautiful:

Male Rose-Breasted Grosbeak

Female Rose-Breasted Grosbeak


Male Rose-Breasted Grosbeak

This beauty is returning from Central and South America where they winter.  These are rare at least in my yard, however most years I stop putting out bird food this time of the year.  I definitely will continue to feed birds using at least one feeder for a few more weeks to observe the migratory species.


Male White-Crowned Sparrow

This sparrow winters in the central and southern U.S. and is migrating on it's way back to northern Canada.


Male American Goldfinch

This bird resides in our area all year long, however in the winter they are a much duller yellow.  Their color has returned for Spring in all it's beauty.


American Goldfinch, White-Crowned Sparrow, Northern Cardinal

It definitely was a great weekend for birding.  I hope to catch some more migrating birds in the next few weeks.

In my next post, planting onions, lettuce and more.


Friday, May 2, 2014

Planting Peas/A Visit From a Great Blue Heron

This past Sunday I started the annual ritual of planting the garden.  It felt good to actually start working in it after the long cold winter.

In my previous post (http://dansgardening.blogspot.com/2014/04/rototilling-gardenbird-photos.html), I described how I rototilled the soil after placing some mulched leaves on the garden last fall which allowed them to "age" over the winter.  I have found that mulched leaves are worth their weight in gold when it comes to enhancing garden soil.

This year I decided to plant a row of Oregon Sugar Pod Peas, a prolific variety of snow peas.  This type of pea with the edible pod is delicious in stir fry and other recipes.  They are a great springtime vegetable, as they are known for thriving in the cooler weather.


The most important part of planting peas is the fence.  It's pretty much required to have a fence.  The variety I chose only grows slightly over two foot tall, so the fence I used (about 30 inches tall) is adequate. Some varieties can grow up to six feet tall.


This fence is galvanized and is the push in the ground type that is hinged.  It can be configured in various patterns.

After the fence is in place, the planting process is quite simple.  There are various planting techniques, including making the traditional trench to plant seeds.  In this case, I just simply placed all the seeds on top of the ground, spacing them 2 to 3 inches apart.  Then I pushed them into the soil,  approximately one inch deep, which is a good planting depth for peas.  Finally, I firmed the soil with my hand.


.

So hopefully in a week or ten days the seeds will sprout.  We've had about 1.5 inches of rain this week after I planted, so hopefully the rain will let up as not to wash away and/or rot the seeds.

Last but no least, we had a visit from a great blue heron this week and I was able to get a pretty good shot as the heron patiently stood watching for fish or frogs in our pond.  We usually get quite a few visits each spring and summer from this bird that looks like it's from the age of dinosaurs.

Great Blue Heron

Until next time.  Thanks for reading as always.


Friday, April 25, 2014

Rototilling the Garden/Bird Photos

Welcome back and happy Friday to everyone!

Well it's that time of the year again to re-discover the garden.  With the hard winter we had this year, I was wondering if I would ever get back "in the garden" again.  Even a week or so ago it was extremely wet in our yard, but over the last week it has dried out considerably with the help of a lot of windy days.

So this past Monday night, I broke out my vintage 1979 Ariens Rocket V rototiller and went to work:


Lower Garden Before Tilling


The Ariens Rocket V


Last Fall I used my trim mower with a bagger to mulch some leaves around the yard which I then placed on my vegetable gardens,  Mulched leaves is one of the best organic materials to use to enhance your garden soil.  Of course cow or horse manure works well also.  As a general rule, it is always better to place any of these on your garden in the fall, so they have time to compost over the winter.

Upper Garden Before Tilling

In a few weeks I will be able to start the planting process, beginning with onions, a variety of lettuces, radishes and Swiss chard.

After tilling, the gardens looked a lot more inviting, at least to a gardener.  The long winter takes it's toll on the soil.  You may be thinking that it is a little early in the season to turn up the soil, however I like to work the ground before the sun has a chance to bake the soil which then makes it so much more difficult. Some areas I may re-till later in the planting season if necessary.

Lower Garden After Tilling, Being Investigated by my Resident Ducks


Upper Garden After Tilling

More to come in future posts about my ducks, the progress of my tomato and onion plants, and much much more.

Finally, some more bird photos thanks to my son who apparently has caught the birding bug!:

Northern Cardinal


Northern Cardinal & Song Sparrow

Until next time


Saturday, April 19, 2014

Transplanting Tomatoes/Bird Photos

A few days ago, I transplanted some tomato plants from the original seed starting tray (with peat pellets), into peat pots, using a good potting mix.

So what is transplanting and why is this process important and necessary?

The transplant stage is a very important step in developing strong and healthy tomato plants.  It allows each plant to have adequate space and nutrients to develop strong root systems.  During this stage I will also place them outside in my greenhouse as much as possible to help "harden them", which means to acclimate them to more realistic weather conditions compared to indoors.  If tomato plants are kept indoors, most likely they will become too tall and "spindly" compared to those allowed to be outside as much as possible.

I normally use a three inch peat pot.  Be sure to label the pot with the tomato variety.  For this I use a permanent marker, which will hold up to moisture, since the peat pots will become damp as they act like a sponge when watered.


The first step is to fill the peat pots about three-quarters full with a good potting soil or seed starting mix, and wet thoroughly.


Next, I make a small indentation in the soil, and place the tomato seedling into the peat pot.


Add a little more soil around the seedlings to support the stems, and water again.  I normally use Miracle Grow for Tomatoes when transplanting to give the seedlings a good start.  Also, most potting soils/seed starting mixes have plant food added which will help in the development process.


It is very important to keep the plants indoors for a few days (out of the sun), to allow them time to adjust to transplanting, since it is always somewhat of a shock to the plants.  After a few days, I put them outside in the greenhouse (in the sun), of course still being mindful of night time temperatures, since often they will dip below freezing this time of the year.

Finally, a few bird photos from this week:

Northern Flicker


Northern Flicker


Northern Flicker


Song Sparrow


I had fun watching this lone Northern Flicker.  He was working hard to dig out whatever bugs and/or worms he could find in the ground.  Also, this song sparrow has arrived back to enjoy the warmer weather.

Until next time.


Tuesday, April 15, 2014

Vegetable Seedling Progress - Winter Sowing Success

Welcome back everyone and continued thanks for reading my blog.

As I write this post tonight it is once again snowing.  Yes, April 15th and still snowing!  We just finished enjoying a weekend with temperatures near 80 degrees.  Hopefully this will be the last snow, but who knows.  You may recall in my last post on April 7, 2014, I posted a few pictures of the last snow storm on March 30th, during which we received 8 inches.

First of all, the sweet Spanish onions that I planted on March 8th, 2014, are doing quite well.  I described in detail how I planted them on my post of that same date (http://dansgardening.blogspot.com/2014/03/its-time-to-start-some-vegetables.html).


Sweet Yellow Spanish Onions


The tomatoes that I planted on March 25th, 2014 (http://dansgardening.blogspot.com/2014/03/its-tomato-starting-time.html) are also coming along quite well.  I reported in an earlier post that the seeds didn't germinate very well, but since then more of them have sprouted.  In the meantime I also planted more seeds, so in the end I should have more than enough seedlings.


Tomato Seedlings - Planted 3/25/14

As you may notice, some of the tomato seedlings are developing their second set of leaves. At this stage, I normally transplant the seedlings into individual peat pots filled with potting soil,  I will detail this procedure in future posts.

The transplant stage is a very important step in developing strong and healthy tomato plants.  It allows each plant to have adequate space and nutrients to develop strong root systems.  During this stage I will also place them outside in my greenhouse as much as possible to help "harden them", which means to acclimate them to more realistic weather conditions compared to indoors.  If tomato plants are kept indoors, most likely they will become too tall and "spindly" compared to those allowed to be outside as much as possible.

Finally, an update on winter sowing.  You may recall that in my post on February 4, 2014, I described the winter sowing process (http://dansgardening.blogspot.com/2014/02/winter-sowing.html), which basically involves planting seeds in plastic containers and placing them outside during the winter.  In the spring as temperatures warm, the seedlings will emerge.

Below are the results I am getting from two different types of lettuce seeds that I planted using this technique:


Romaine Lettuce - Planted 2/4/14


Red Serpent Lettuce - Planted 2/22/14


These two containers are yielding good results.  At this point they should be treated as normal seedlings, that is they obviously can't be left outside at sub-freezing temperatures once the seeds sprout.  This process is amazing and it always surprises me that it really works!  Considering the photo below shows when the containers were buried in the snow in February:


Until next time.


Monday, April 7, 2014

Planting More Tomatoes - More Heirlooms

In my post on March 25th (http://dansgardening.blogspot.com/2014/03/its-tomato-starting-time.html), I described in detail my tomato planting process.

Since it has been about 10 days since I planted them, I have some good news and bad news:


As you can see, some of the tomatoes are coming nicely, however, quite a few haven't sprouted.  So what is a gardener to do?  The only answer really is simple:  replant.

Sometimes seeds can be finicky, even if they are the current year's seeds as these were, except for two of the peat pellets I planted.  By the way, the seeds I planted that were from 2103 didn't sprout, but some of the ones from 2014 didn't either.

So I used my last Jiffy seed starting tray and planted again.  This time, however, I chose some different varieties that I found locally since I had used up all the seeds that I ordered from Park Seeds and Jung Seeds (Rainbow Heirloom Blend and Artisan Blend).


The varieties I planted are as follows:

San Marzano - a plum tomato considered to be one of the best in the world.

Big Rainbow - the flesh inside is marbled with red in the bottom half of the fruit. It has a big, lumpy beefsteak shape with a very mild and sweet flavor. It's a knockout on a platter with slices of other tomato varieties. The large fruits (often 22 oz.) are borne on tall plants.

Pink Pounder - this 16 oz. shiny, pretty pink beefsteak has gourmet-worthy creamy, sweet, pink flesh and superb flavor.  Note - this is a hybrid.

Cherokee Purple - an old Cherokee Indian heirloom, pre-1890 variety; beautiful deep dusky purple-pink color, superb sweet flavor, and very large sized fruit. Try this one for real old-time tomato flavor.

Mortgage Lifter - this huge heirloom beefsteak (up to 4 lb.; average 2½ lb.) consistently wins taste-tests. Developed in the 1930s by a gardener who planted the four biggest varieties he knew and crossed one with pollen from the other three. He did this for six seasons and created a variety that produced immense, tasty fruit. He sold the plants for $1 a piece and paid off his $6000 mortgage in 6 years.

Crimson Cushion - a very old late-seasoned, wilt-resistant beefsteak variety. The fruits are large, fourteen to sixteen ounce, deeply ribbed, irregular, bright scarlet, juicy, yet solid and very prolific. Nice balance of tart and sweet. A real nice slicing tomato.

Finally, the weather has been slowly improving over the last week or so.  I have been putting my onion and leek plants outside in the greenhouse on sunny days.  I still am bringing the plants in at night since the temperatures have still been dipping below freezing most nights.  Next year it will be time to purchase a new greenhouse since the zipper on the left side has "blown out".


Speaking of the improving weather, hopefully we can say goodbye to winter,  Below are some photos I took last Sunday night, March 30, 2014.  We had 8 inches of snow that night:


Until next time.